top of page

.png)
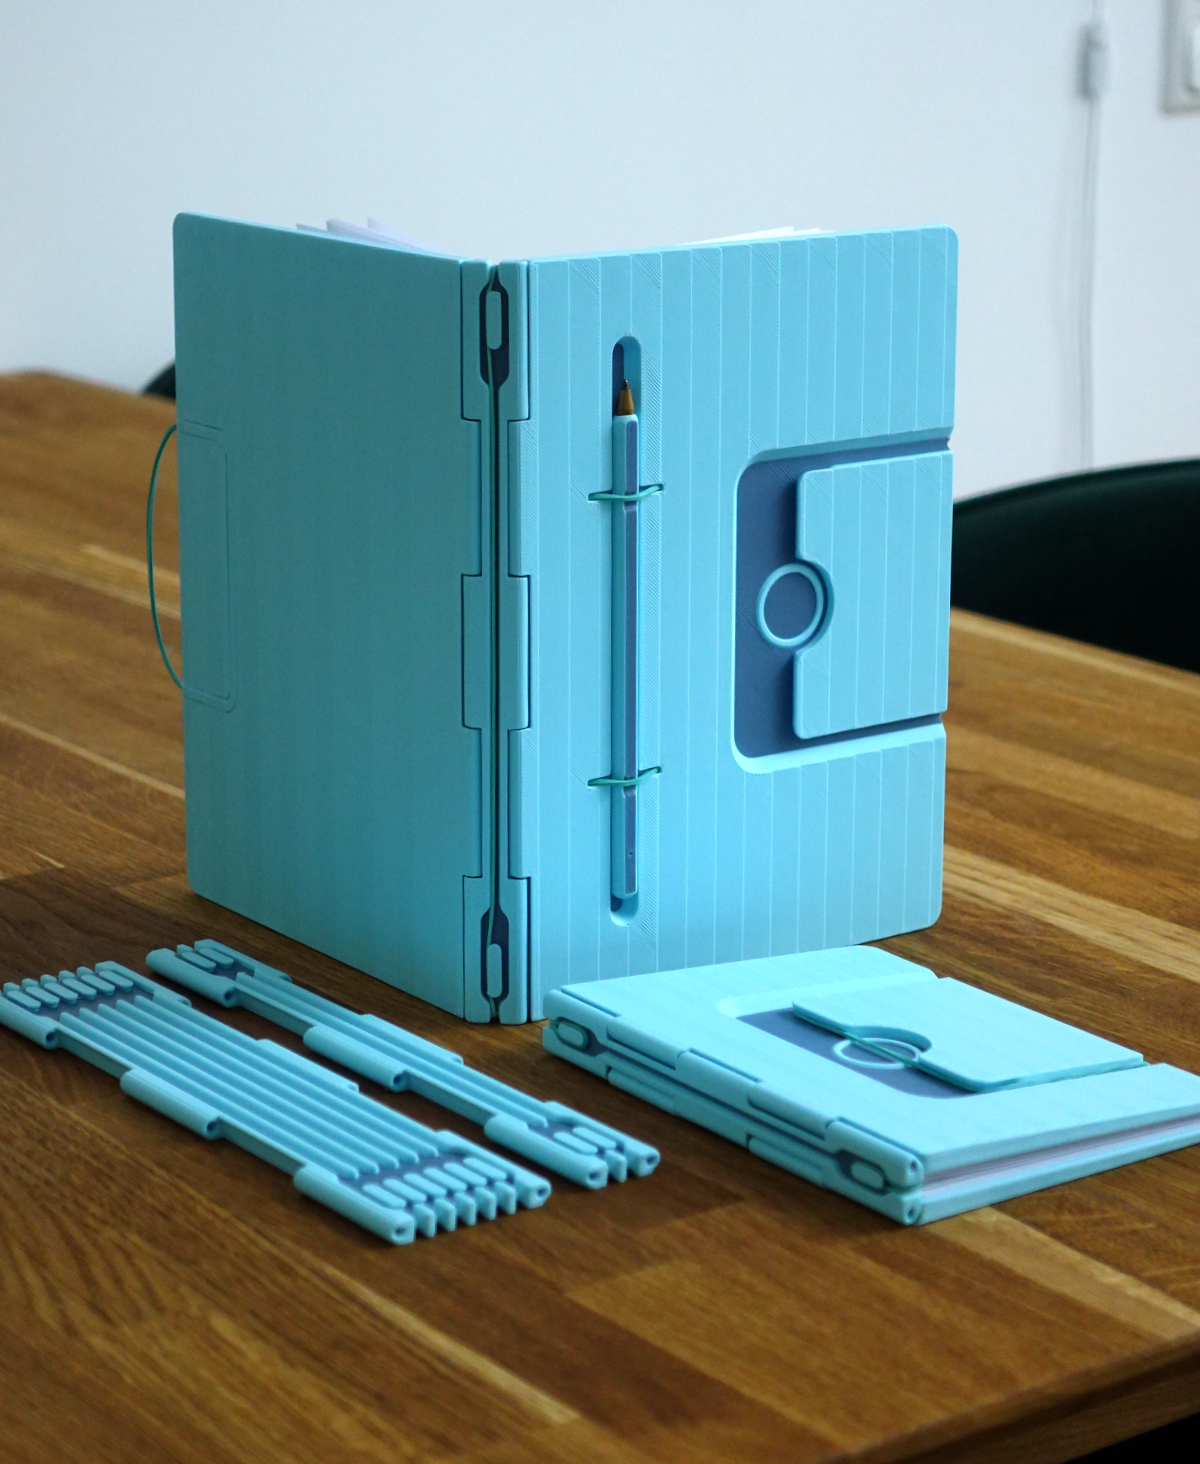
Infinite Notebook
3D print design by
Gazzaladra Design
The infinite Notebook. Expandable with different spines, robust and reusable. Comes with a pen compartment.
Once you run out of blank pages you can just switch the paper out and keep the used ones stored within a bigger archive
Single and multi-color printing models are included as STL and 3MF! They work with all current and usual multi color setups.
With normal 80g Copy paper one spine segment holds up to 20 papers which results in 80 Pages.
A printed pen is included but you can also use your own preferred choice. For the default pen you will need a BIC Crystal fine.
Versions included
For DIN A4 Paper – DIN A5 folded in Size
For DIN A5 Paper – DIN A6 folded in size
For US Letter Paper
For US Haf Letter Paper
What you need
The printed parts
Rubber bands – regular household ones
Regular copy paper
Assembly (Go along with the images)
Choose your version and spine size
Print all parts
Insert one rubber band into the front from the inside, use a scraper or other thin object to push it inside
Place another rubber band in the insert, by pulling it slightly, it will go in easily
Push the insert into the back, starting with one of the rounded corners
Apply a bit of pressure to fully push it inside
Insert pieces of filament as hinge to connect the front, back and spine
Pull it back a bit and cut it slightly shorter than the total length of the spine
Push it back in, so no ends stick out on either side
Fold up to 20 pieces of copy paper in half per spine segment (Tip: by folding them one by one the result will be slower but more precise in alignment)
Bind the notebook. Either by wrapping the rubber band around the pages and cover - or by doubling it and using the little knobs inside of the back.
Maintenance
To change spines, use a piece of filament to push out the existing filament hinges and reuse them on the new assembly
In order to switch spines, it makes sense to remove the covers first for easier handling
If the rubber band inside of the insert breaks, use a thin object as lever to remove it and place a new one.
I recommend printing one of the bigger spines as archive, this way you can take a small version with you and once full, archive your notes in chronological order.
Get commercial license with
Hive+(Private)
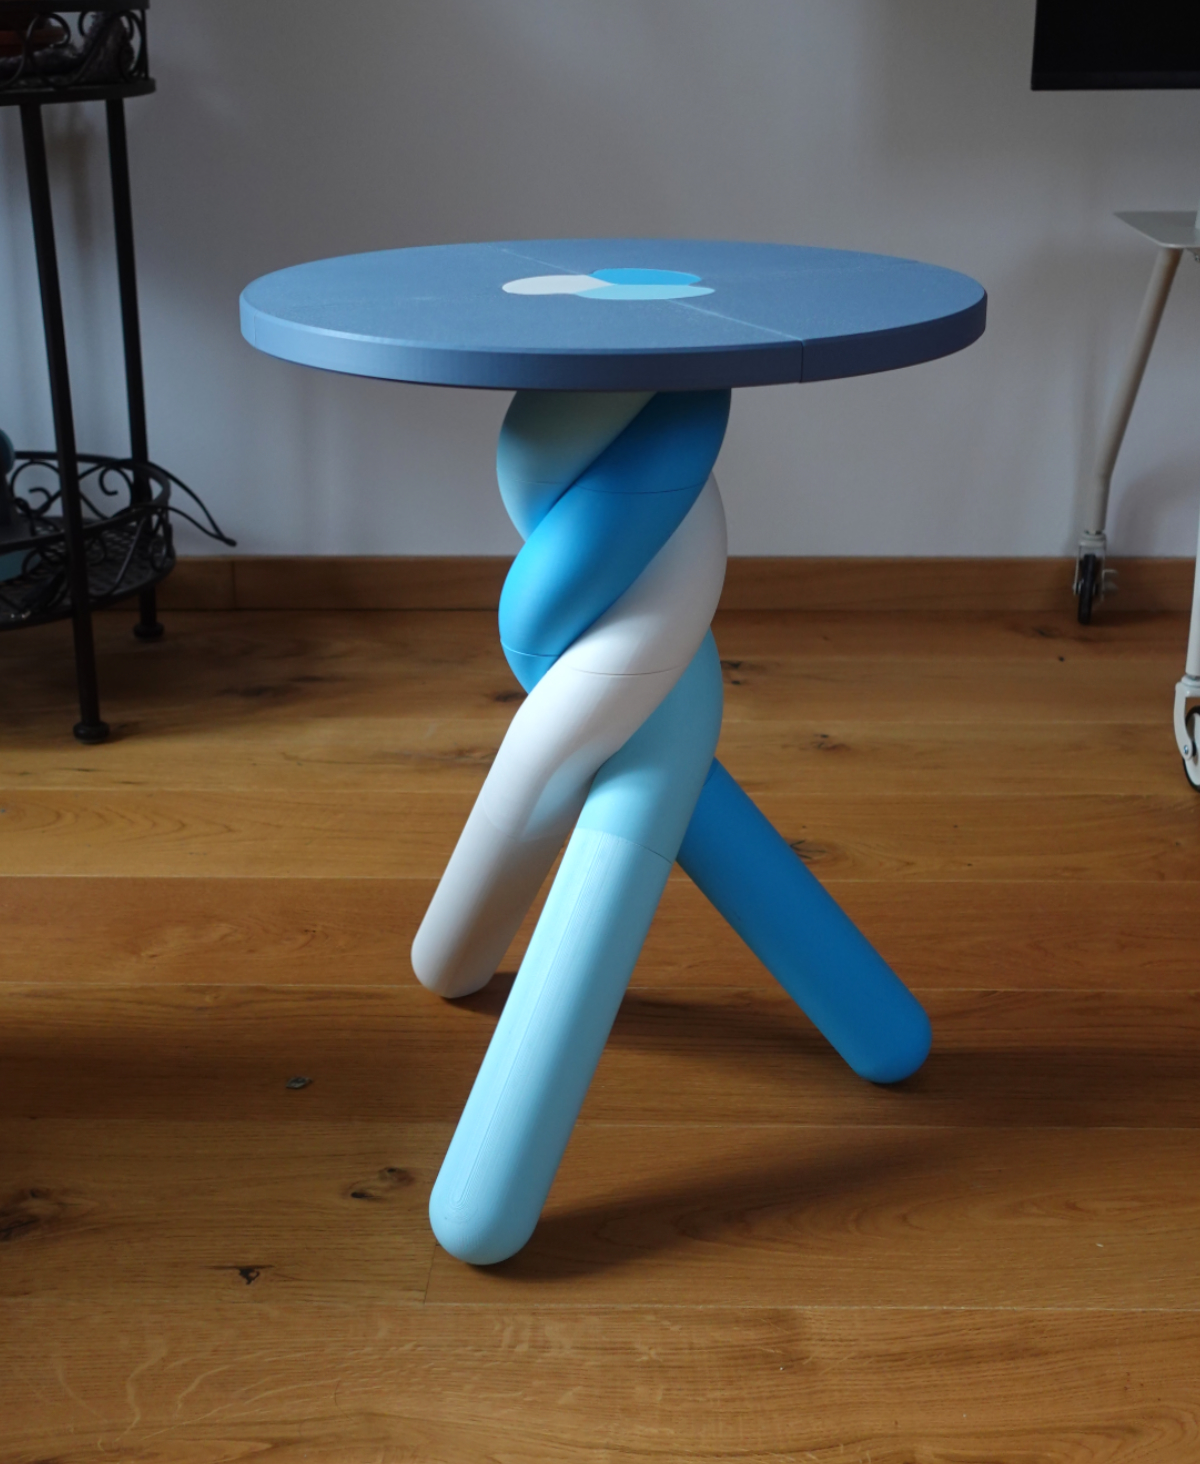
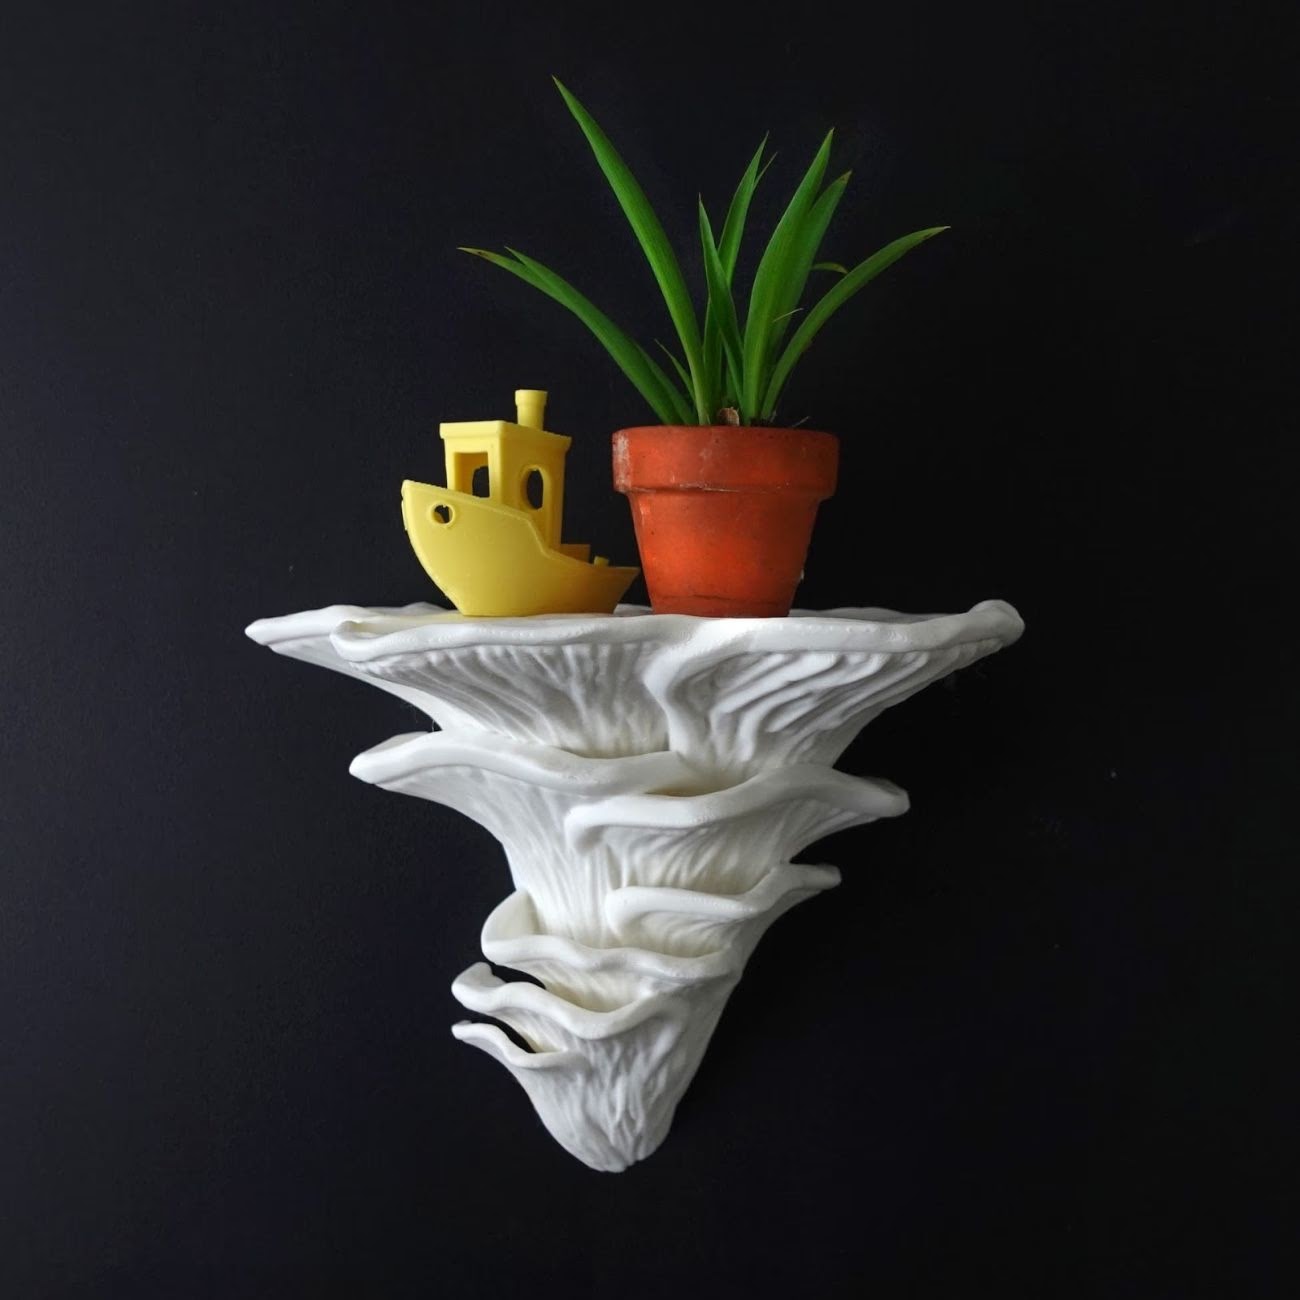
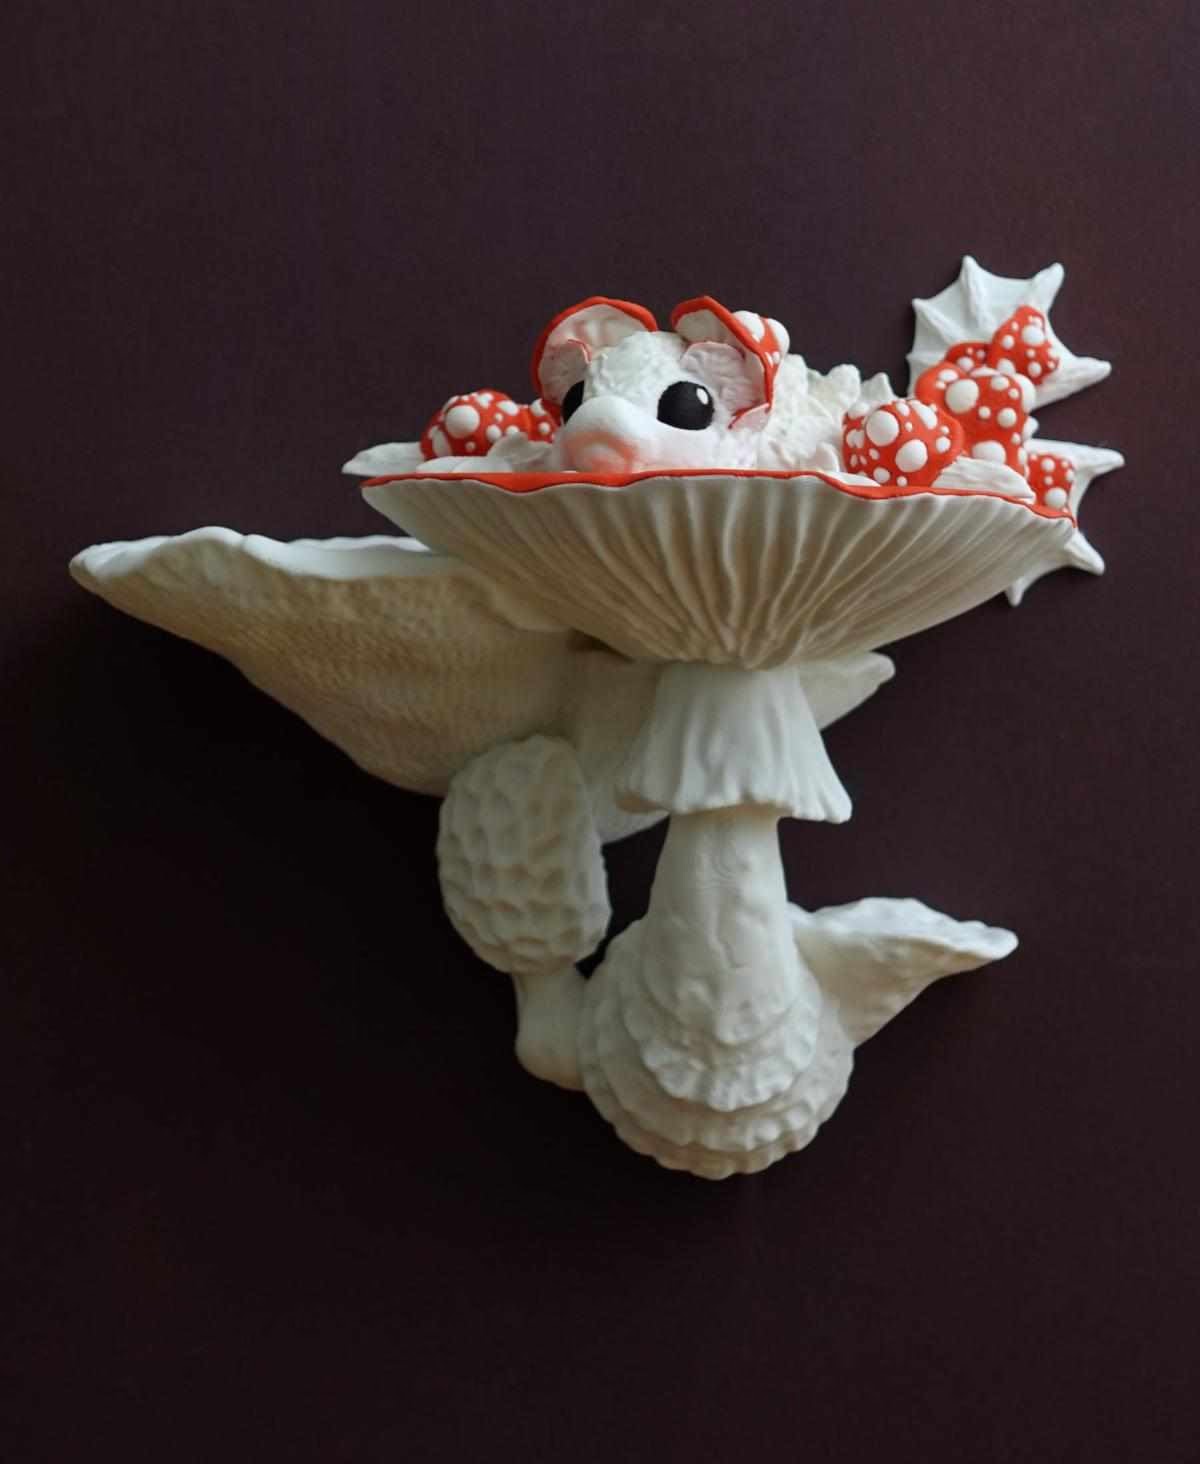
Print & Sell this Design with HivePlus

Only 50 Licenses
Full commercial access with limited global sellers.

HQ Media Content
Media library of images, videos, and written content.

1:1 Collaboration
Personal support access to a private seller community

3D-Biz Support
Expert content & live sessions to help you grow.
Anchor 1 - plans
Join
HivePlus
-
1 Exclusive catalog of your choice
-
Only 50 HivePlus licenses globally
-
Rights to sell across any platform
-
Content bank of pics & vids
-
Biz-dev consultancy & sales data
-
+1,000 STL Library (HiveCommunity)
*With CubeeTrust:
A royalty system that rewards and motivates your designers by sharing 10% of sales with them
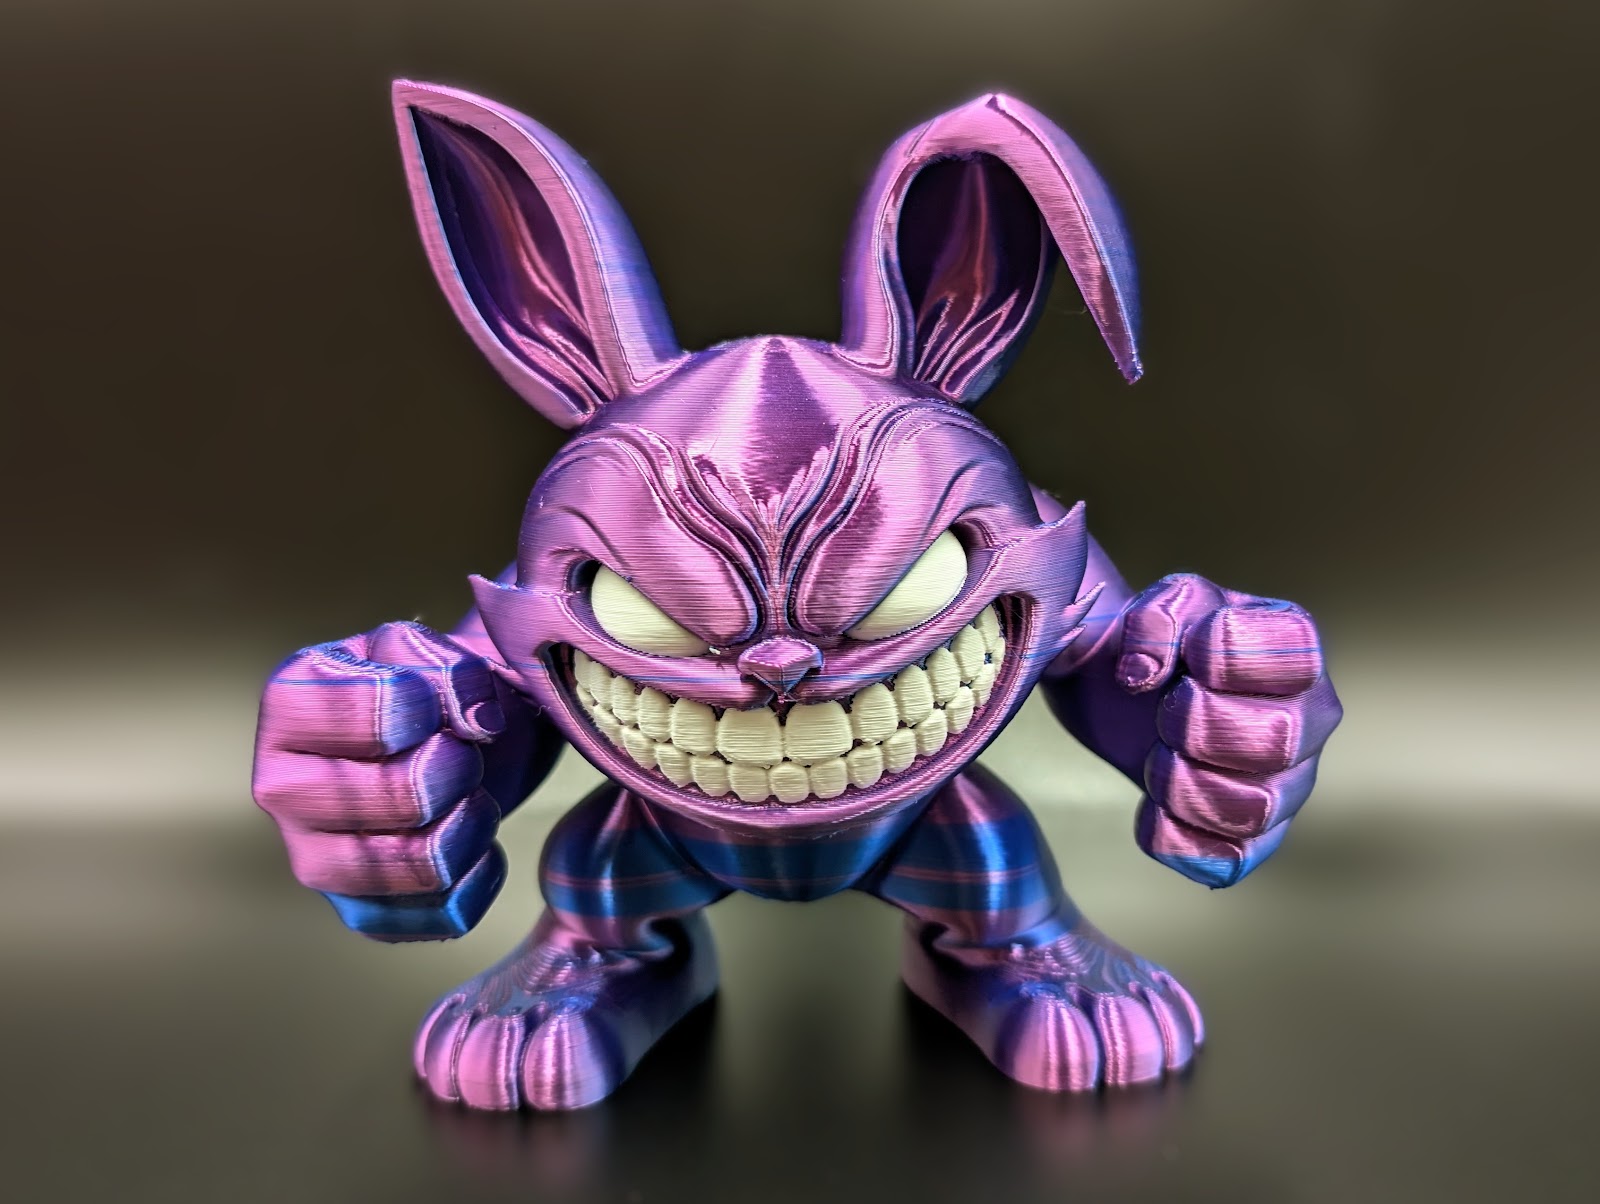


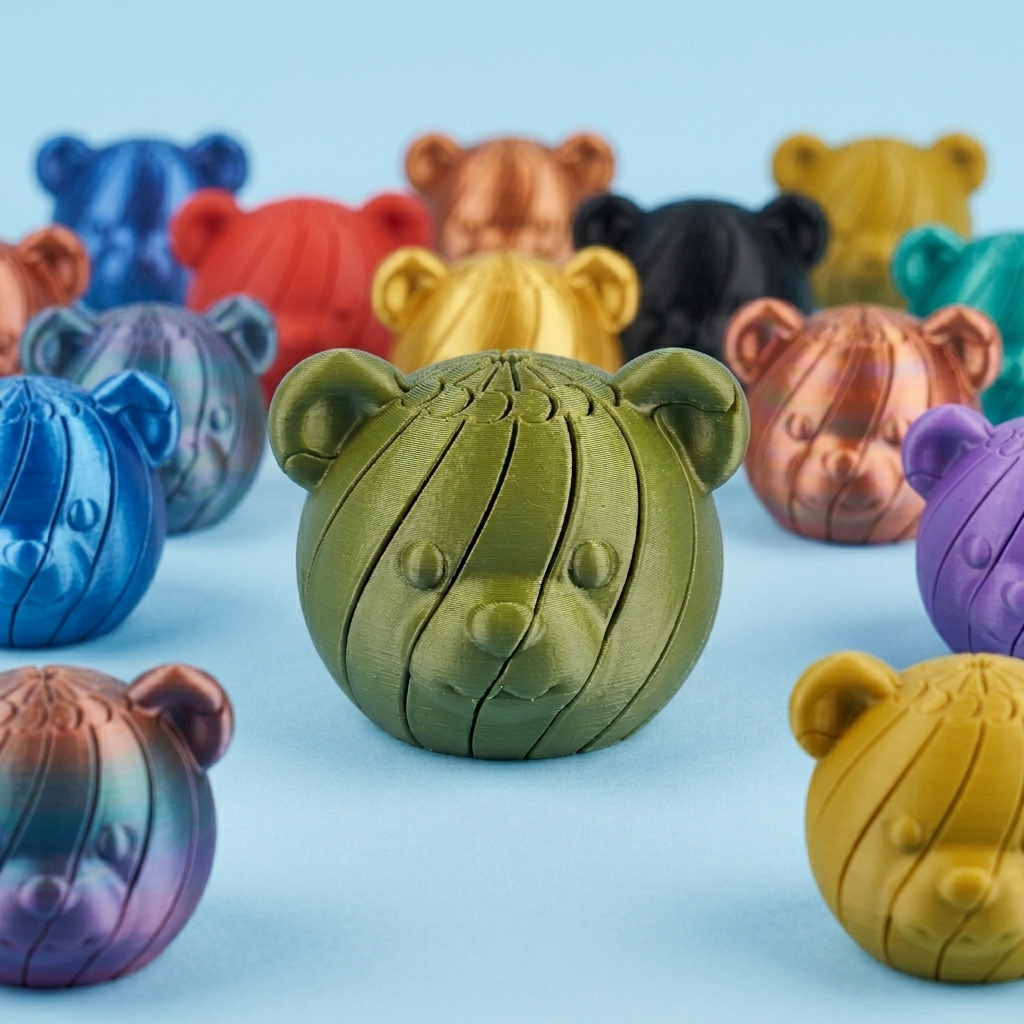
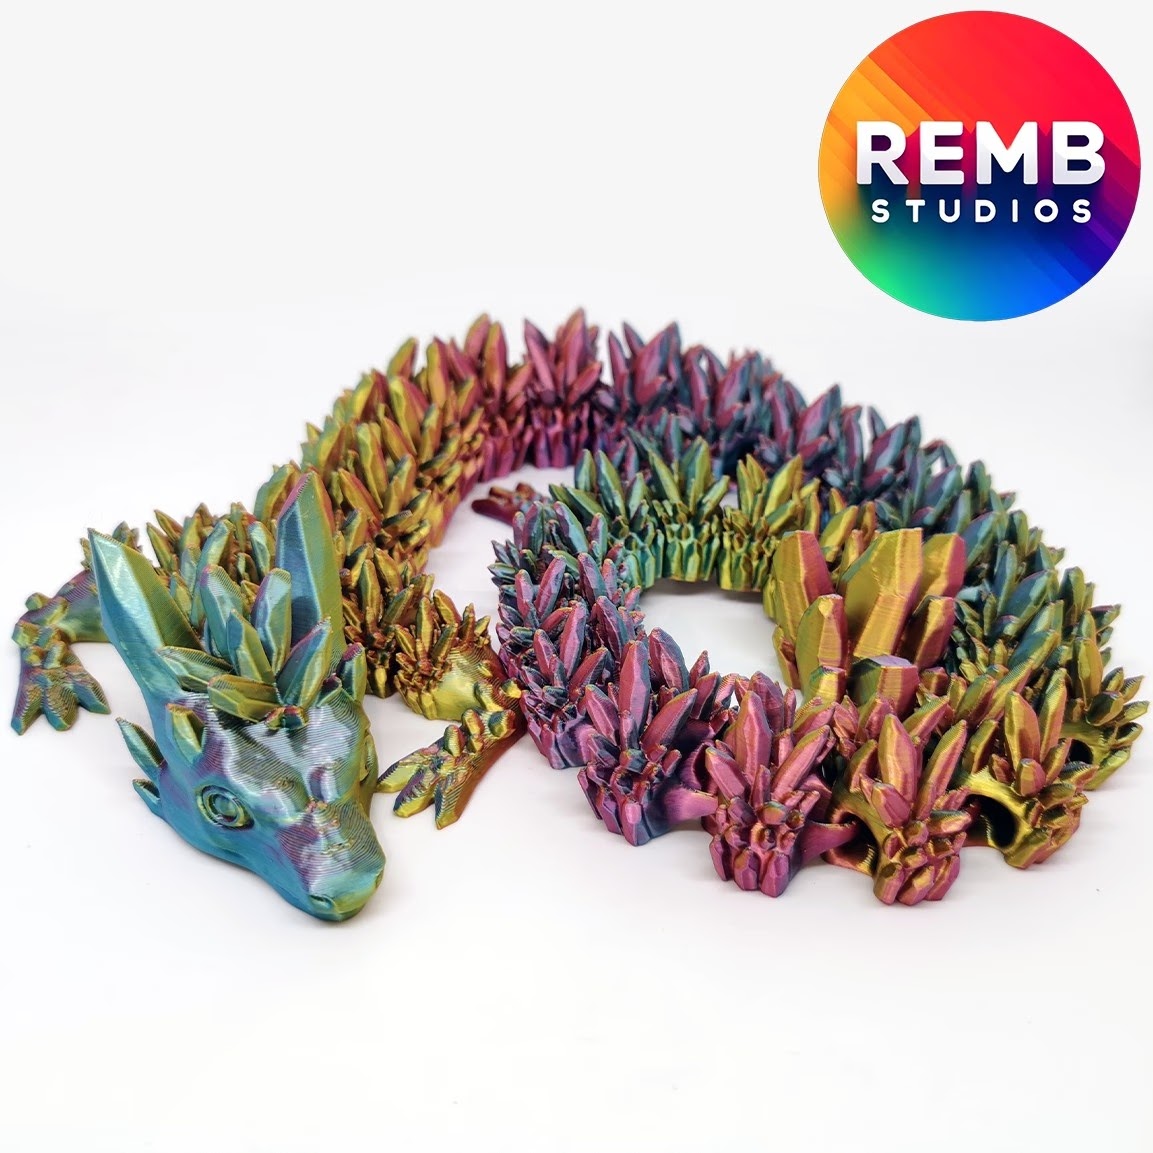

900+ Model catalog
Royalty-free selling rights
30+ new designs/month
Private seller community
Biz-dev/learning tools
HiveCommunity

Join the
Choose your Plan
Don’t miss special year-end price!
*Prices are in USD
.png)


bottom of page